How to Withdraw Crypto to Your Own Wallet in 2026: Address-Poisoning Defense (Binance, OKX, Gate)
Binance saw a $3.64 billion net outflow on the first day withdrawals reopened — just 2.1% of its total assets. Here is a three-step process for moving…
On November 1, 2026, the first day Binance reopened withdrawals, the exchange recorded a net outflow of $3.64 billion. That figure looks alarming on its own, but it equals just 2.1% of the platform's total assets under management — closer to a backlog of withdrawal requests clearing at once than a bank run.
The same day, the platform added a different warning to its withdrawal flow: watch for address poisoning during periods of concentrated withdrawals. The trick is crude but effective. An attacker pushes a fake address into your transaction history whose first and last characters match one of your regular addresses. The next time you copy from that history out of habit, the funds go to the attacker.
For anyone still deciding whether to open an exchange account, both headlines point to the same conclusion: an exchange is an entrance, self-custody is the destination. Placing an order is the easy part; knowing how to withdraw is what actually puts the asset in your hands. Here is the process, step by step, with the relevant menus for Binance, OKX and Gate.
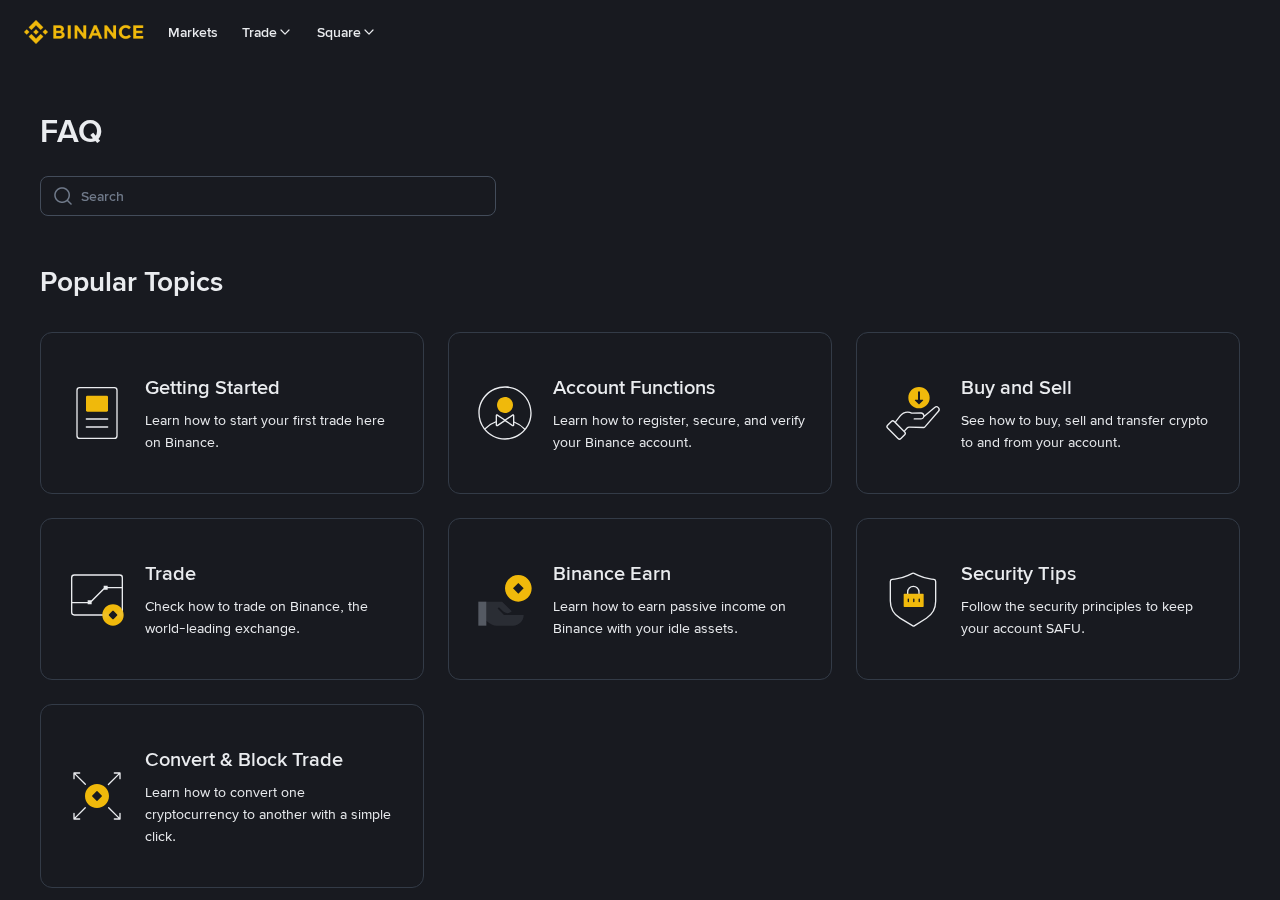
Start with the official help center. The "Account Functions" and "Security Tips" entries are worth opening once on the day you register.
1. What a withdrawal actually is
Plenty of beginners confuse a withdrawal with an internal transfer. That confusion is expensive.
- Internal transfer: moving funds between your spot, futures or Earn accounts. The asset never leaves the exchange, no blockchain transaction occurs, and it usually costs nothing.
- Withdrawal: the exchange sends coins from its wallet to an address you control. This is a real on-chain transaction. You pay a network fee plus the platform's withdrawal fee, and it cannot be reversed.
Every on-chain transfer requires two pieces of information: the address and the network. The same USDT exists on ERC-20, TRC-20, BEP-20 and several other chains, each with a different address format. Choosing the wrong network does not merely delay arrival — it sends the asset to a chain your wallet cannot open, and recovery is painful and often impossible.
So treat the network dropdown on the withdrawal page as a checklist item: it must match the network shown on your wallet's receive screen, character for character. Do not pick from memory. Put the two screens side by side.
2. Step one: turn on the address whitelist
The whitelist does one job: only pre-registered addresses can receive withdrawals. If your password leaks or 2FA is bypassed, an attacker still cannot send funds to an address of their own. They cannot edit the whitelist, and any change triggers a waiting period.
Where to find it (menu labels shift between versions and regions; search for "whitelist" or "address book" if the path has moved):
| Exchange | Add an address (address book) | Whitelist setting |
|---|---|---|
| Binance | Wallet → Spot → Withdraw → Address management | Security → Withdrawal address whitelist |
| OKX | Assets → Withdraw → Address book | Security settings → Withdrawal address whitelist |
| Gate | Assets → Withdraw → Address book | Security center → Withdrawal whitelist |
Two details matter. First, newly added addresses usually sit through a cooling-off period before they can receive funds; the exact duration is shown on the page, so do not add an address only when you are in a hurry. Second, copy the address from your own wallet's receive screen — never from a chat message, an email, or a link someone posted.
3. Step two: send a small test transaction
For your first withdrawal, send 10 USDT or the equivalent and walk through the entire flow: choose the coin, choose the network, paste the address, complete 2FA, submit.
When it lands, verify three things: the amount, the network, and whether the address is really the one in your wallet. Only then move a larger sum. For sizeable amounts, split the transfer into two or three transactions — not because the exchange is about to collapse, but because it gives you a chance to catch a mistake.
Fees and minimum withdrawal amounts are whatever the withdrawal page shows at that moment. They vary wildly by network and adjust dynamically when a chain is congested, so any fixed figure quoted in an article is already out of date.
One more field trips people up: some networks require a memo or tag (XRP and TON, for example). If the field appears on the withdrawal page, fill it correctly. A missing memo can cause the transfer to fail or require a manual recovery request.
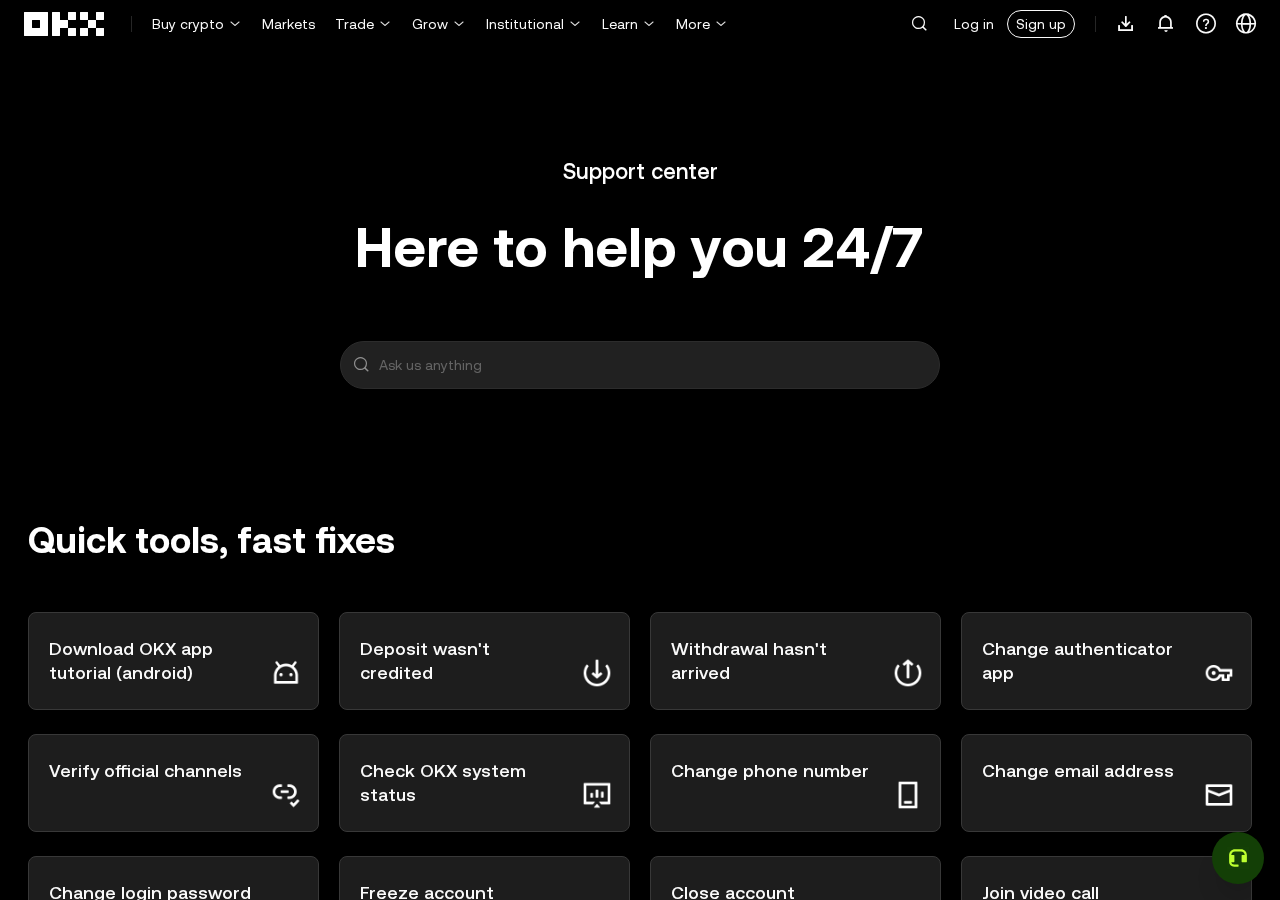
OKX's help center puts "Withdrawal hasn't arrived" in the first row of its Quick tools. If a withdrawal stalls, read the official explanation there before asking strangers in a group chat.
4. Step three: verify the whole address, not just the ends
Address poisoning works because of a human habit: almost everyone checks only the first four and last four characters. An attacker generates an address with identical leading and trailing characters, then sends you a zero-value transaction so it appears in your history. The next time you copy from that history, the funds go to the wrong place.
Change the habit:
- Read in segments. Compare the first six characters, the last six, and four to six characters from the middle. Check them one by one instead of glancing.
- Change the source. Do not copy from transaction history. Open your wallet's receive screen, or scan the QR code the wallet generates.
- Use the address book. Pick a whitelisted address from the book instead of pasting it manually.
- Check the hardware wallet screen. For large transfers, confirm the destination on the device itself. Malware on your computer cannot rewrite that display.
- Flag unfamiliar addresses. If an address you do not recognize shows up in your history, label or hide it. Never tap "withdraw again" on it.
5. Three mistakes that cost real money
- Wrong network. If the network on the withdrawal page does not match the network on your wallet's receive screen, stop. A bridge is not a rescue tool, and the first time you learn to use one should not be after a mistake.
- Address poisoning. Matching first and last characters does not make two addresses the same. Checking only the ends hands the address field to an attacker.
- No whitelist, or no patience after changing an address. Without a whitelist there is no buffer if your account is compromised. Changing an address and withdrawing immediately gets you stuck in the cooling-off period. Anyone offering to "skip the wait" or "speed up the review" during that window is a scammer.
6. Where to send it: choosing a self-custody wallet
A withdrawal needs a destination. Wallets fall into two groups:
- Hot wallets (mobile apps and browser extensions): free, quick to set up, convenient for DeFi, but the private key lives on a connected device. Best for small balances and everyday activity.
- Hardware wallets: keys stay offline and every signature must be confirmed on the device. Best for large balances and long-term holding, at the cost of buying hardware and a steeper learning curve.
A sensible split: keep working capital on the exchange, small amounts in a hot wallet, and the bulk in a hardware wallet. For more on choosing one, see our wallet guide; before your first withdrawal, also read the seed-phrase and private-key safety guide. The short version: write your seed phrase down by hand, keep it offline, never photograph it, never store it in the cloud, never type it into a web page.
7. Not registered yet? Start with an exchange, then move toward self-custody
If you have not opened an account yet, there is no need to aim for full self-custody on day one. The realistic path is an exchange plus self-custody combination: use the exchange for funding and your first trades, and let a self-custody wallet hold the long-term portion. Three mainstream entry points:
- Binance registration — deepest liquidity and the broadest product range, a natural first stop;
- OKX registration — a full product line with a smooth handoff to its Web3 wallet;
- Gate.io registration — a long-established venue that lists new spot pairs quickly.
Once registered, follow this order: complete KYC, enable authenticator-based 2FA (not SMS alone), fund the account and buy, add your address to the whitelist, send a 10 USDT test, and only then move a larger amount.
The $3.64 billion outflow from Binance, equal to 2.1% of assets, tells you most users moved a portion and left the rest — they did not empty their accounts. That ratio is a useful model for newcomers: the exchange provides liquidity, the wallet provides custody. For the latest on the incident itself, see this timeline.